|
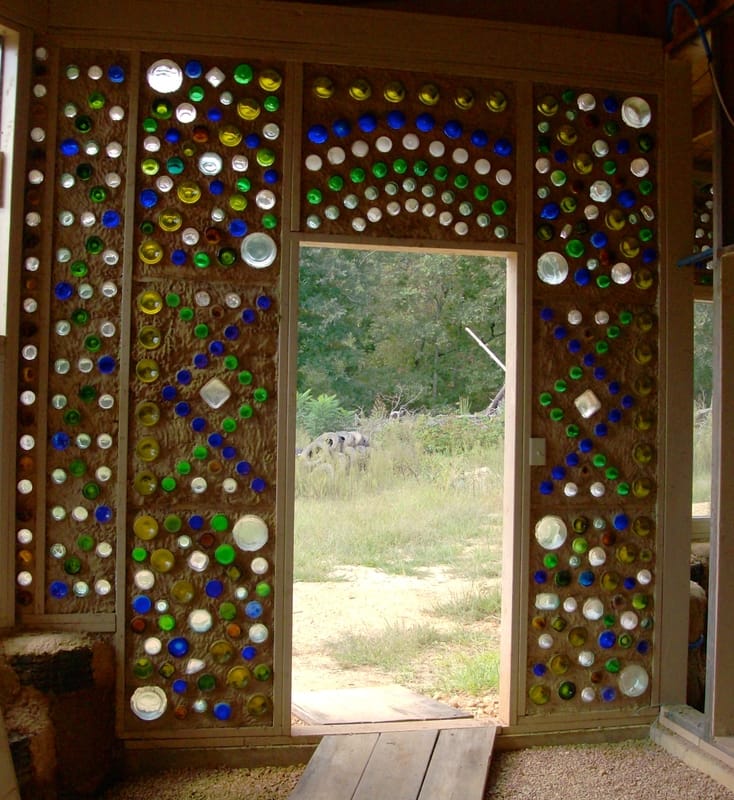
We are making progress just haven't completed anything just yet. So here is an update to show you just how far we have come over the last couple of months. Starting with the greenhouse Why work on the greenhouse first? The planters need to be dug out in order to have a functioning bathroom because of how we are going to use the grey water. This means digging holes in our greenhouse for the planters. The greenhouse has the tallest ceilings of the Upcycled Home. We want to be safe in all of our construction so it made sense to work on completing the greenhouse ceiling first. Then we would not have holes in the floor to work around if we had waited until later. With the humidity issues that we have experienced we had to spray the ceiling for mold and mildew. 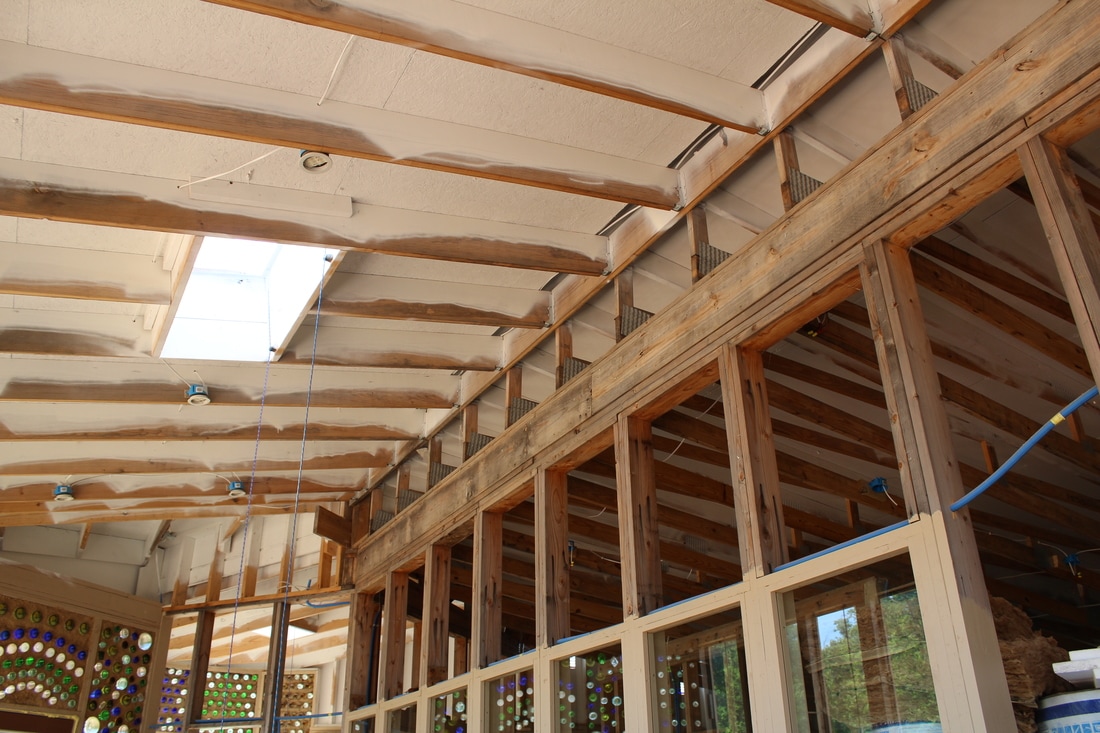 The photo above shows the west greenhouse, west sunroom and the west living areas in the house. 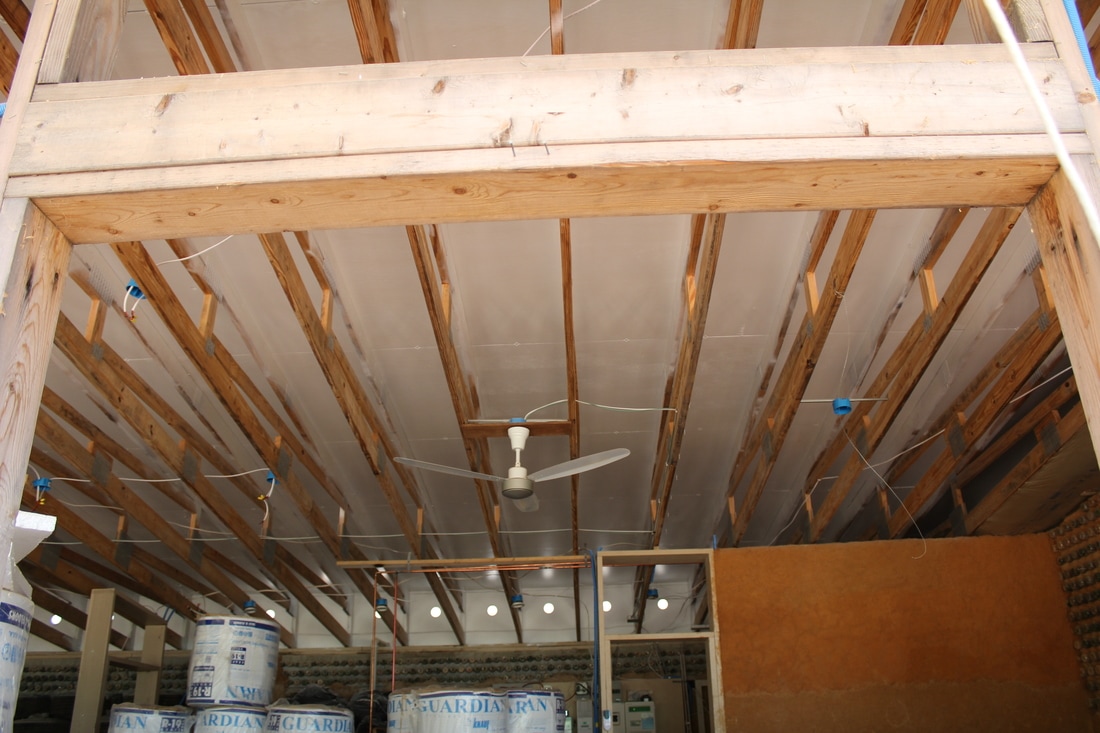 This is the kitchen and living room area. 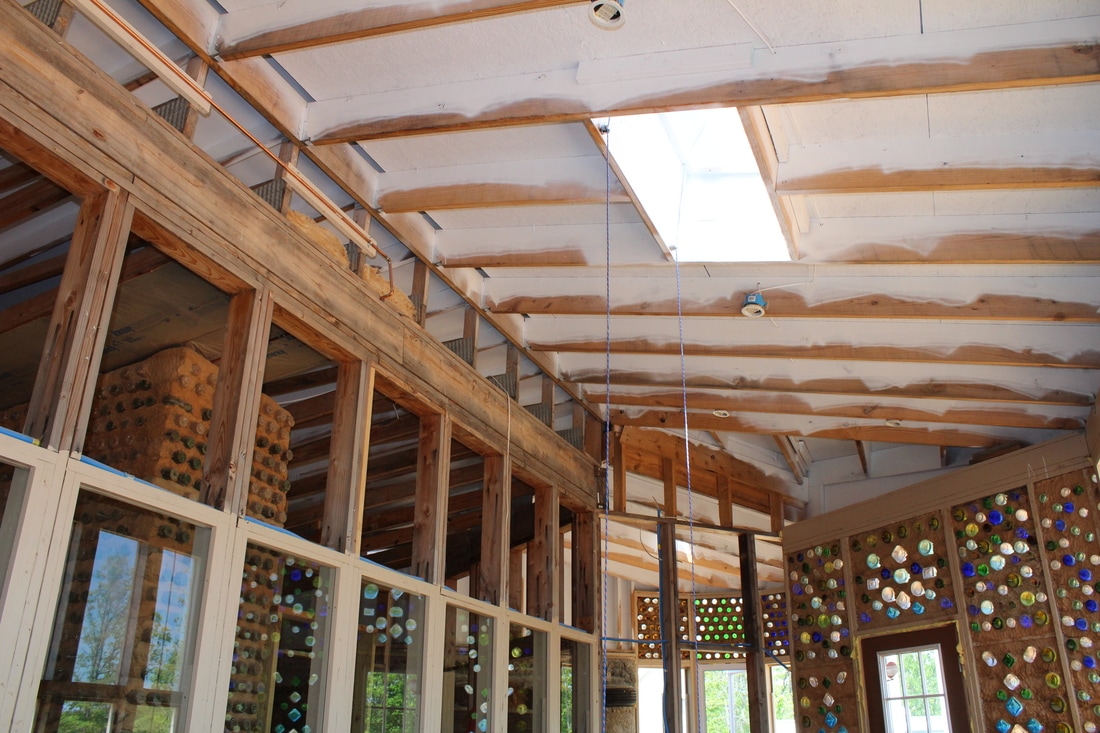 This is the east greenhouse, east sunroom and east living area's. Next is the insulation and working around the lights and skylights. This is R19 batt insulation. 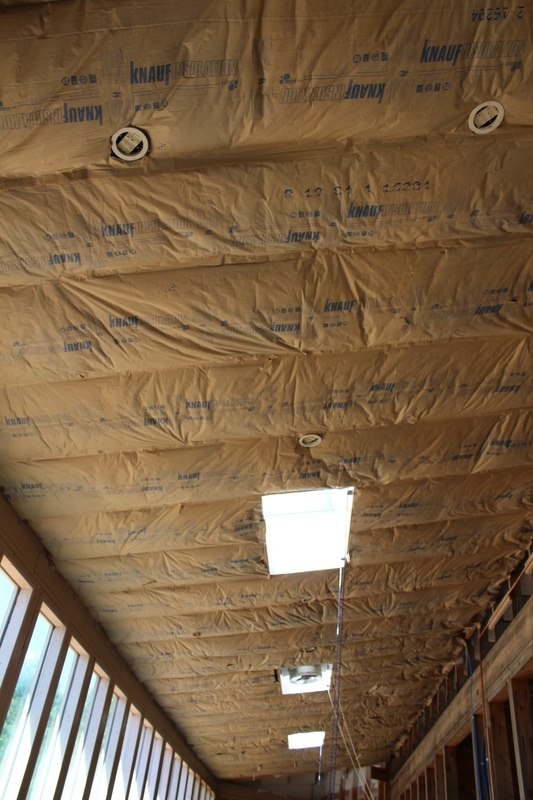 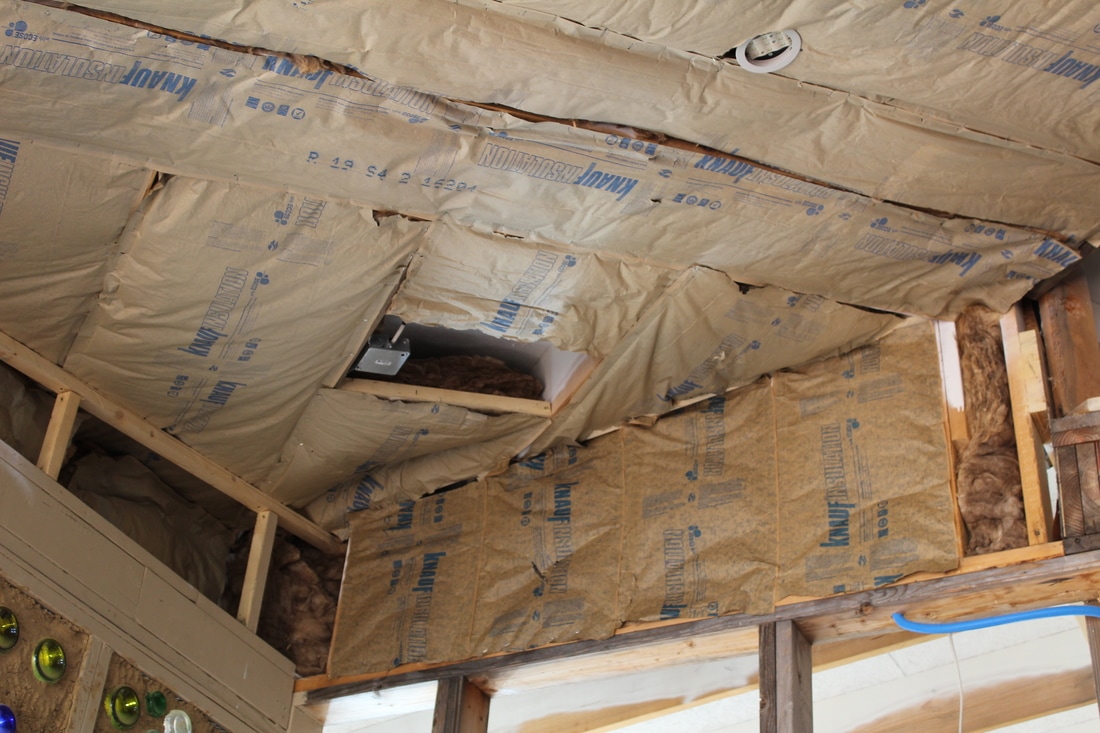 Where there is a junction box we need to have the ability to get access to it. That is to code in Wisconsin. Since we live in a county in Missouri with no codes, Allen apply's what codes he knows to our home. Even though at this current time they are not needed. We want a safe home and if it is ever checked we will feel better that we did what we knew to do even if it was from Wisconsin Living. Allen will make a special cover that will have insulation on it that he can screw up and take it down in the event he needs to get at it. 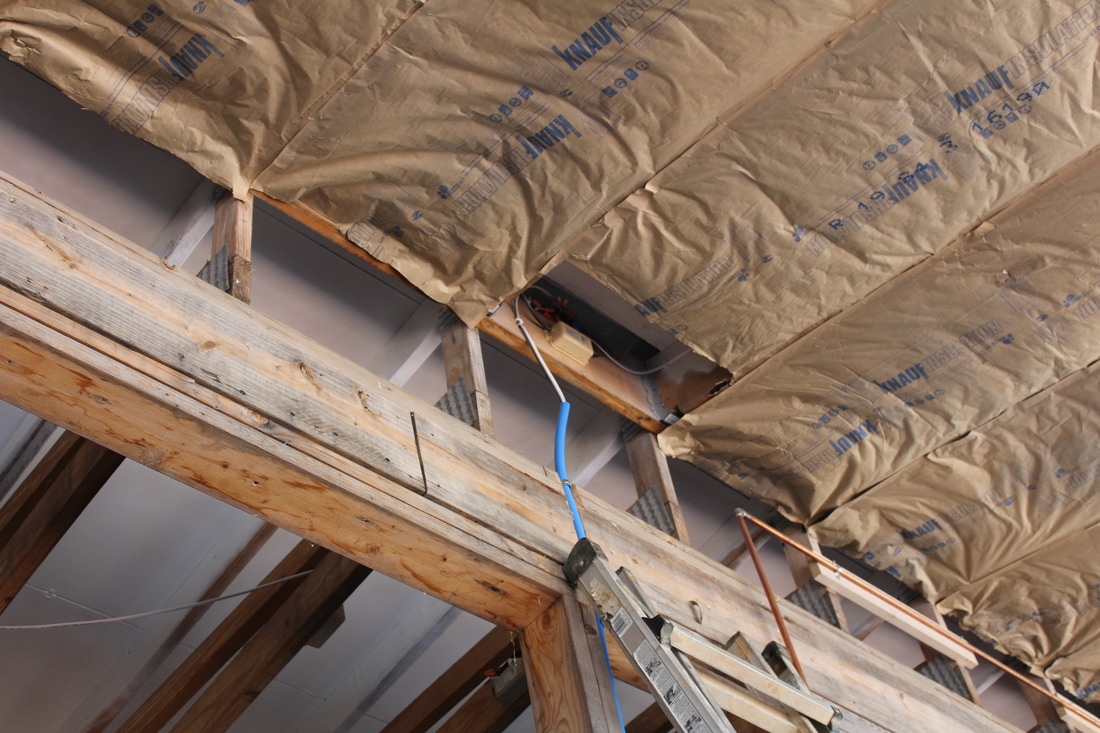 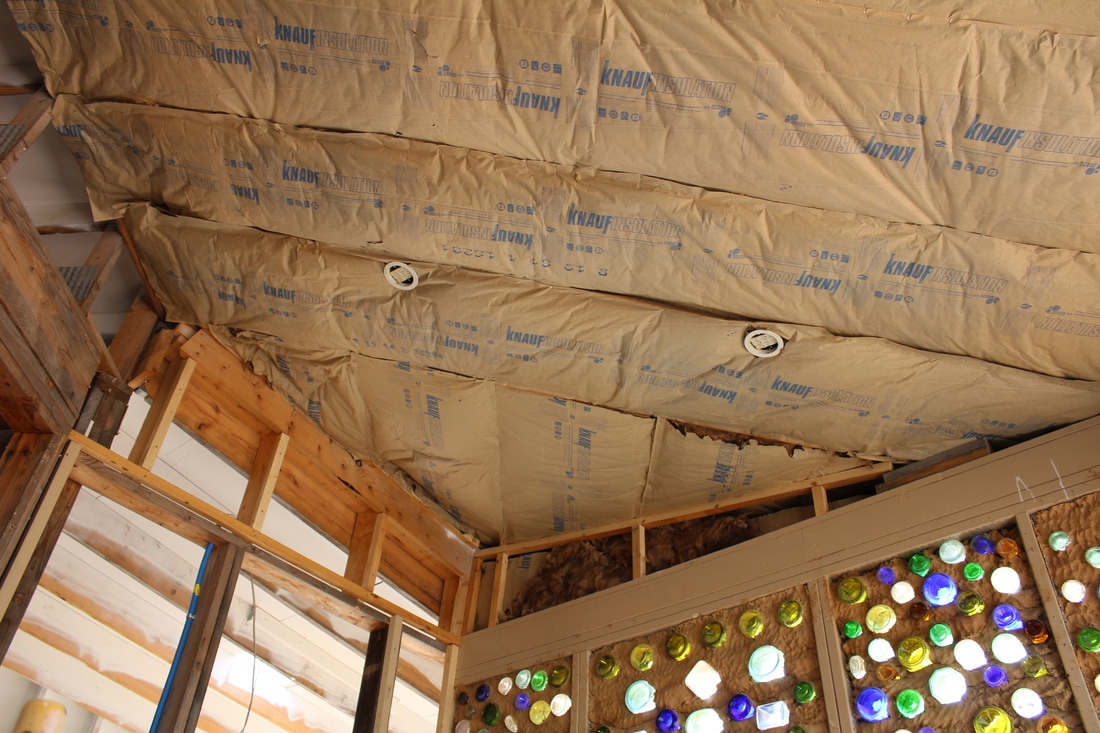 Our Upcycled Home has many different angels to it. So you can say it has been a challenge to figure out how to make things come out to look nice. Allen's innovative skills keeping coming through for him as he conquers the challenges that he faces quite often. He has had to build out the structure of the two walls coming together here. Working on the Car-Siding Ceiling Panels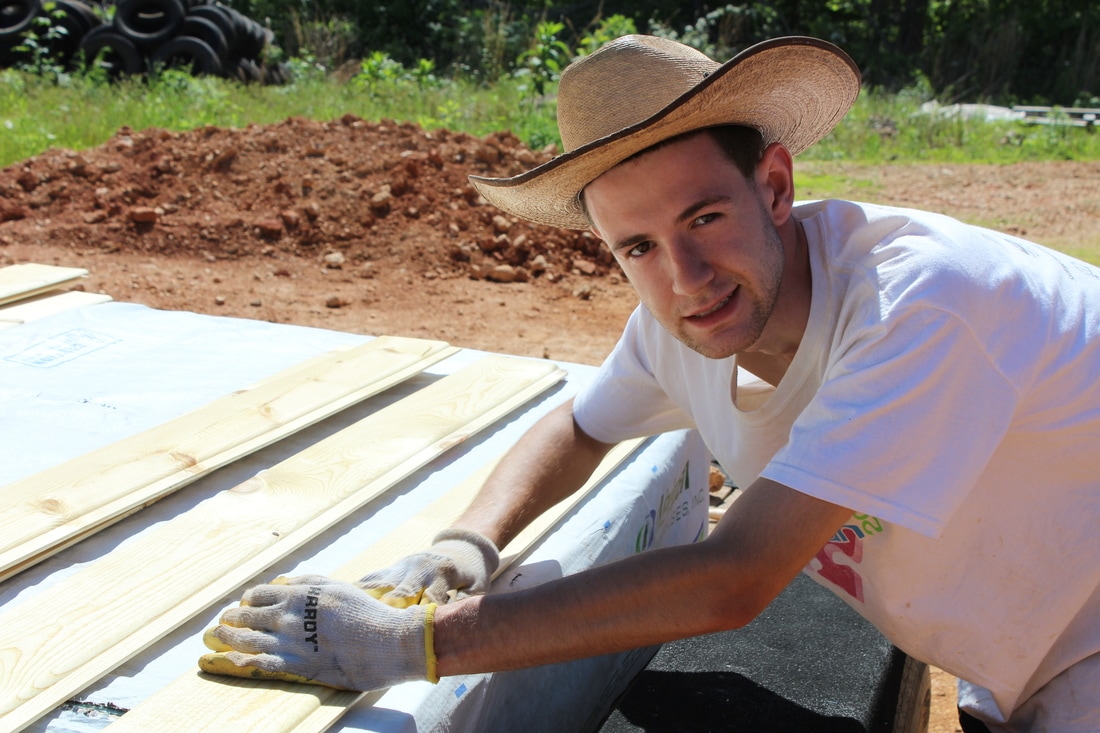 One coat of interior/ exterior Urethane was applied first then Arron sanded the boards before the 2nd coat was added. 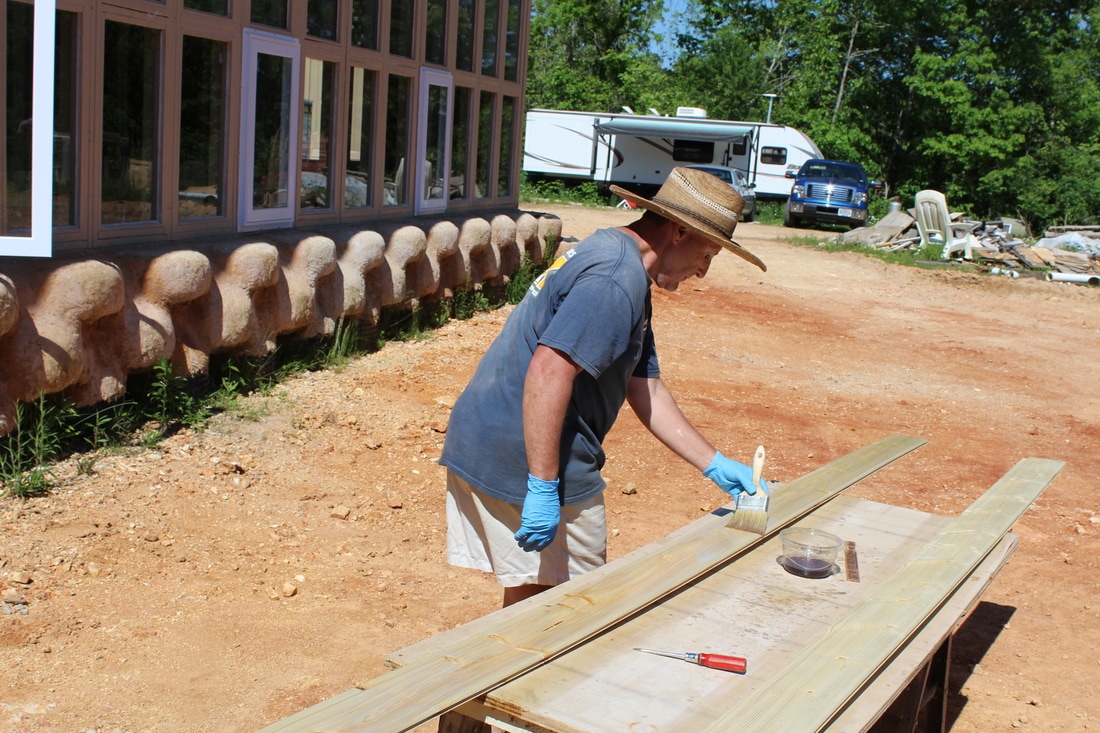 Allen is applying a Helmsman, Indoor/Outdoor, Spar Urethane made by Minwax. This kind of Urethane is oil based. We chose this product because of the humidity that we will have in our greenhouse. This brand will protect the wood from the sunlight, rain, moisture and temperature changes. At first we thought that we could go with any exterior Urethane. We were told by a Menards Associate that the exterior Urethane is made to be out in the sun. If not touched by the sun it will discolor and not be effective. Word to the wise if you don't want to redo your project later on to actually use a product that is meant to be used in the way you need it to. For this product we reccommend using cheap brushes that you can throw out. That is not what we usually would like to do it. We reuse what we can. We decided to do this after Allen cleaned out his expensive brushes with Mineral Spirits the first time and he found his oil brushes stiff and hard and not able to be reused again. We value our time so at times you have to decided which is more important to spend your time on. 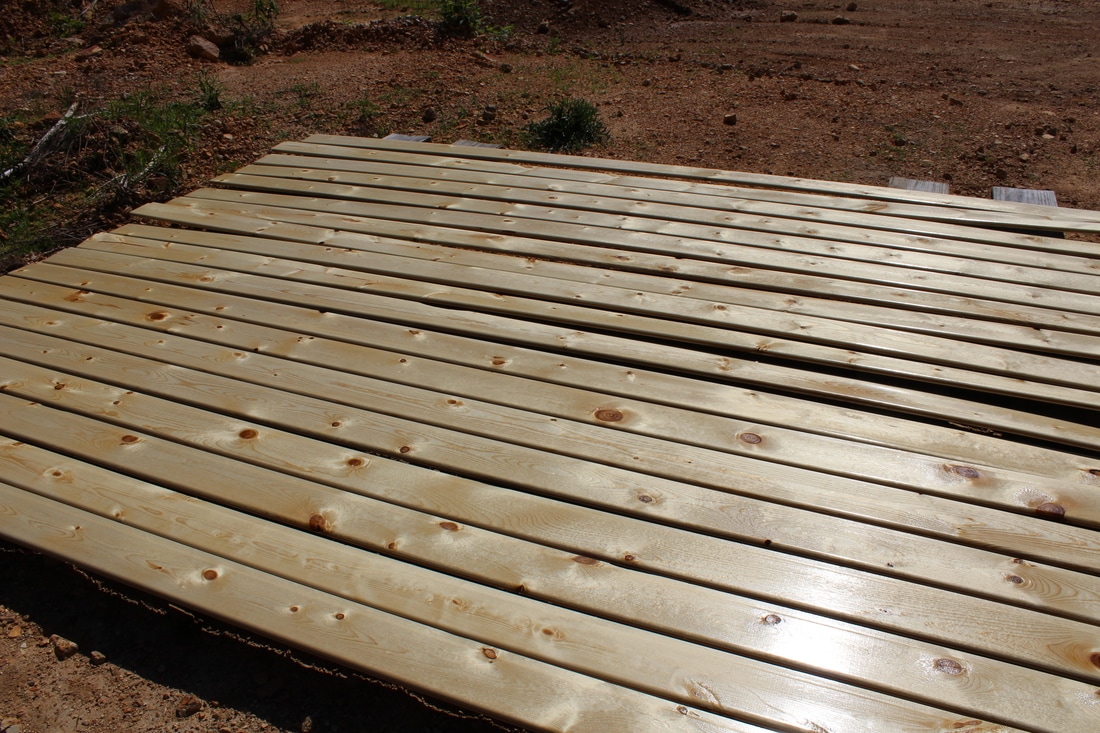 These have to sit outside for 24 hours before you can use them. This has been a challenge here lately. With so much rain that we have been getting when we have two day's of dry weather this is the first thing we will do. 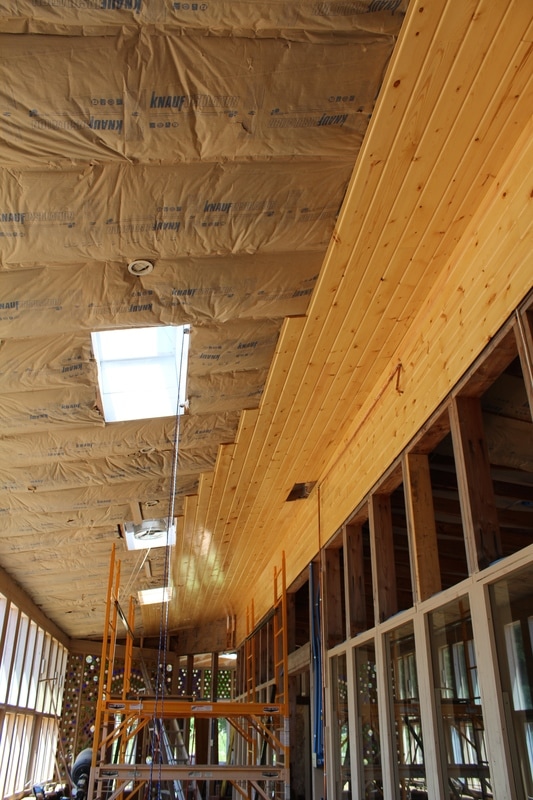 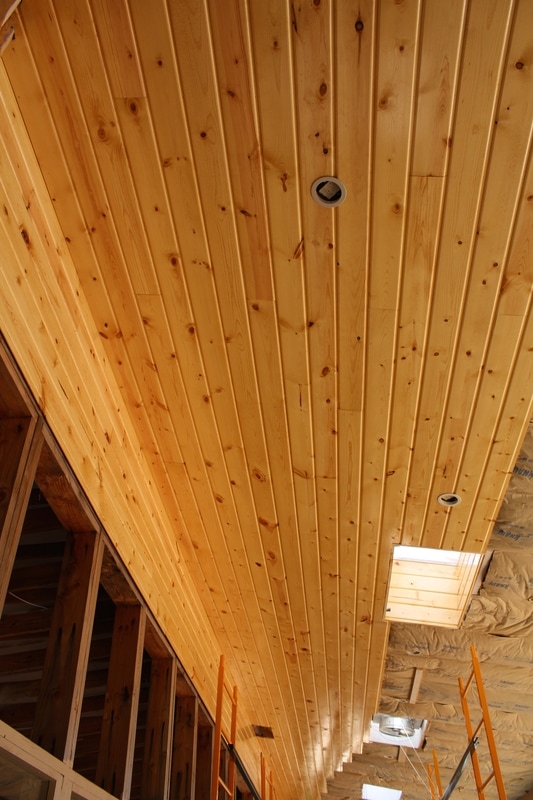 All paneling or ceiling work requires the skill to work around obstacles. For this ceiling work it has been lights, skylights and junction boxes. Allen added the paneling to the inside of the skylights so it will look uniform. 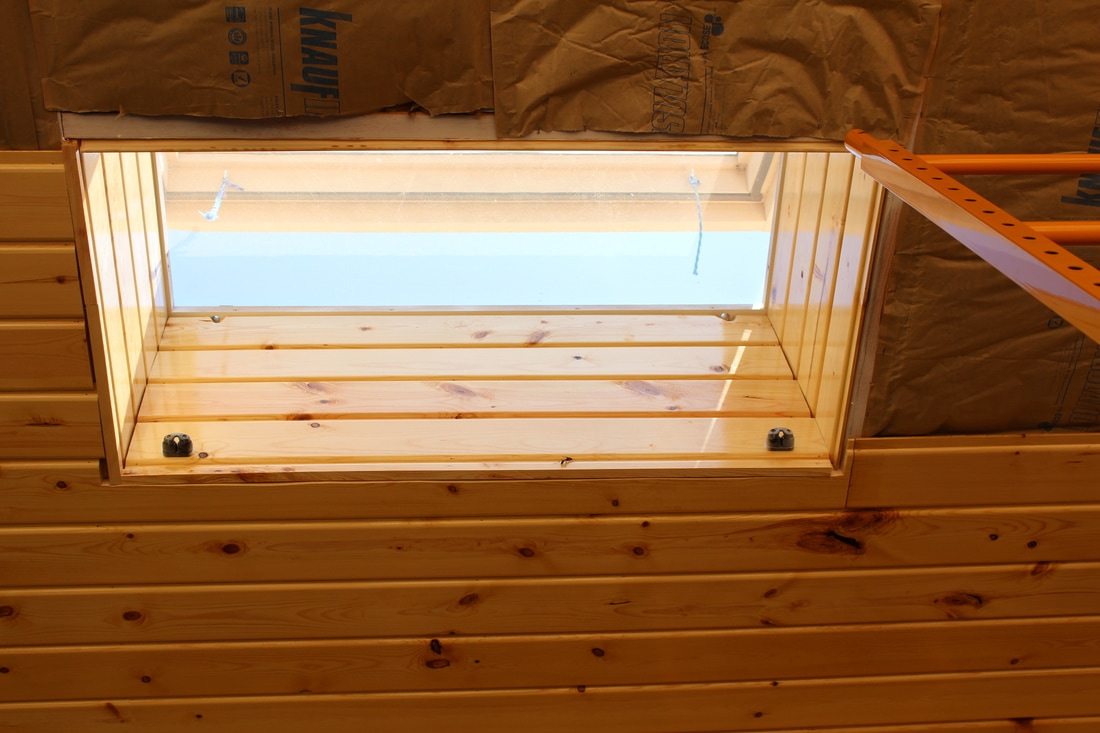 Allen gave the exhaust fan a nice face lift to match the ceiling work too. Please note that this photo was retaken in the morning so the color of the paneling looks a bit more orange than what it normally looks like. 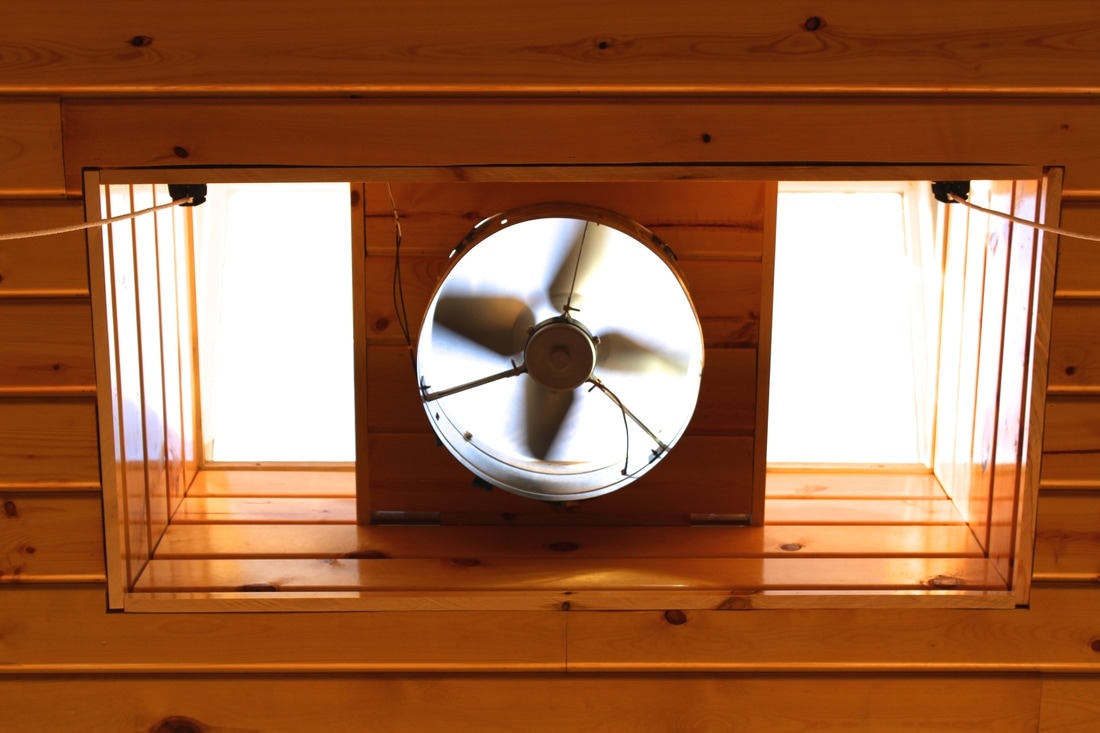 We decided to go with a gloss finish. I personally like shinny things. The gloss coat will all so help in reflecting the light from the sun to make the room and home much brighter. As you can see down where Allen is on the west end the sun shinning in and reflecting up on the ceiling. This ceiling will be easier to clean. We won't have to repaint it either. Putting up a ceiling is hard on the neck to begin with let alone to have to redo it by repainting every so often. Not in this earthship. 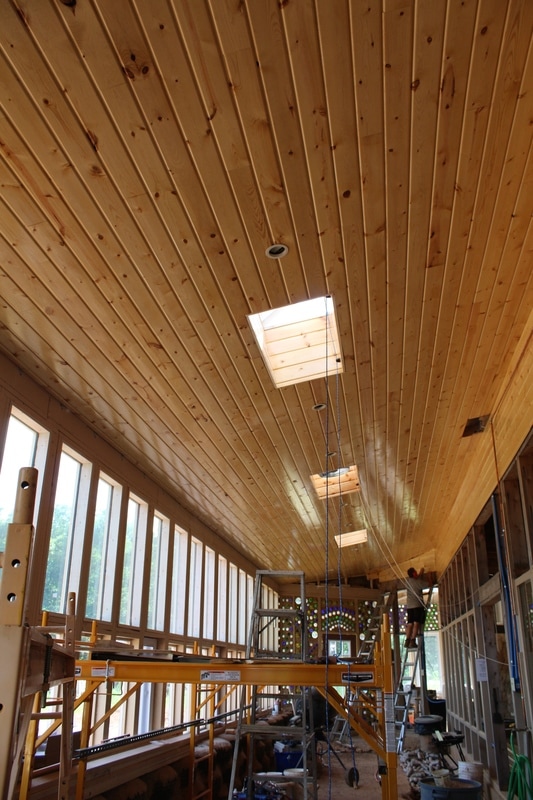 Allen using a air nailer to install the boards with. This was a cheap $14.95 air nailer that Allen bought from Harbor Freight Tools. With only using a portable 3 gallon air compressor this system worked wonderfully. 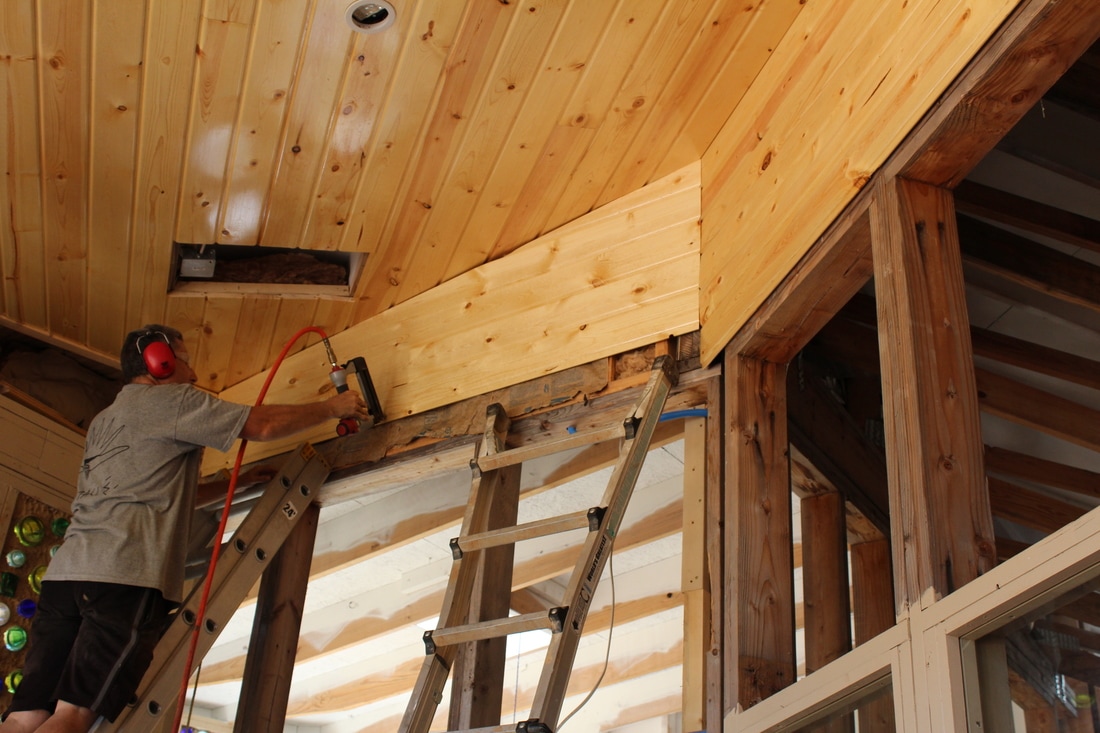 Adding A Finish Coat to the Bottle WallsThe adjacent walls that go into the east and west sunrooms are getting paneling down the side of the doorway. We needed to apply a finish layer of some kind to our exterior bottle wall so we can add the paneling to the sunroom doorways. We decided to apply a papercrete finish coat. Why papercrete instead of stucco? For insulation purposes. From the papercrete mixtures that we have been using our papercrete so far does not crack even in the extreme climate of being exposed to the sun, wind, rain, heat, cold and hale. It is cheap to make and easy to work with. Papercrete is all so fire proof. Two draw backs are that papercrete does take a while to apply. It took two whole days to apply one batch of papercrete to the east and west sunroom entrances, and takes about a week to fully dry. Now most cement mixtures do not give you hours to work with and still be pliable. Well, our papercrete formulas do. The papercrete is mostly paper and water. So as long as you keep it wet it will stay pliable to use. The papercrete finish formula is a different mixture than what we have been using before. Our regular papercrete mixture has water, cement, shredded paper, borox, straw and clay with small stones mixed in. This is a great mixture for packing and filling in a huge gaps. It turns out rougher. And we don't have any issues with the next layers sticking to it. The final papercrete finish coat has everything in the regular except straw and small stones. The clay was finely sifted with no stones in it. I have to admit that this papercrete finish formula is an experiment. We never made it before. We did not know if it would stick to the bottles or if it would pull away from the glass as it dried. We took a chance that it would work. You may think it risky to do this but I have to say this whole house has been a experiment from the get go.  These photos were taken when we finished for the day. The papercrete will dry lighter as it dries. 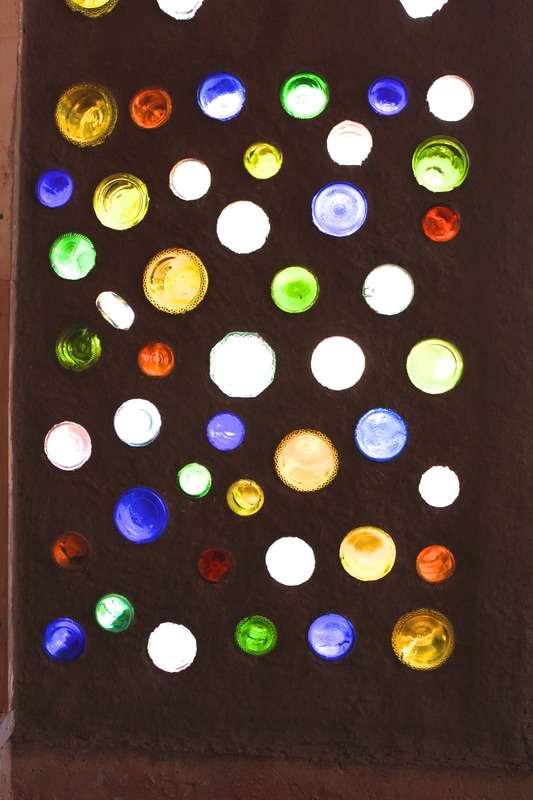 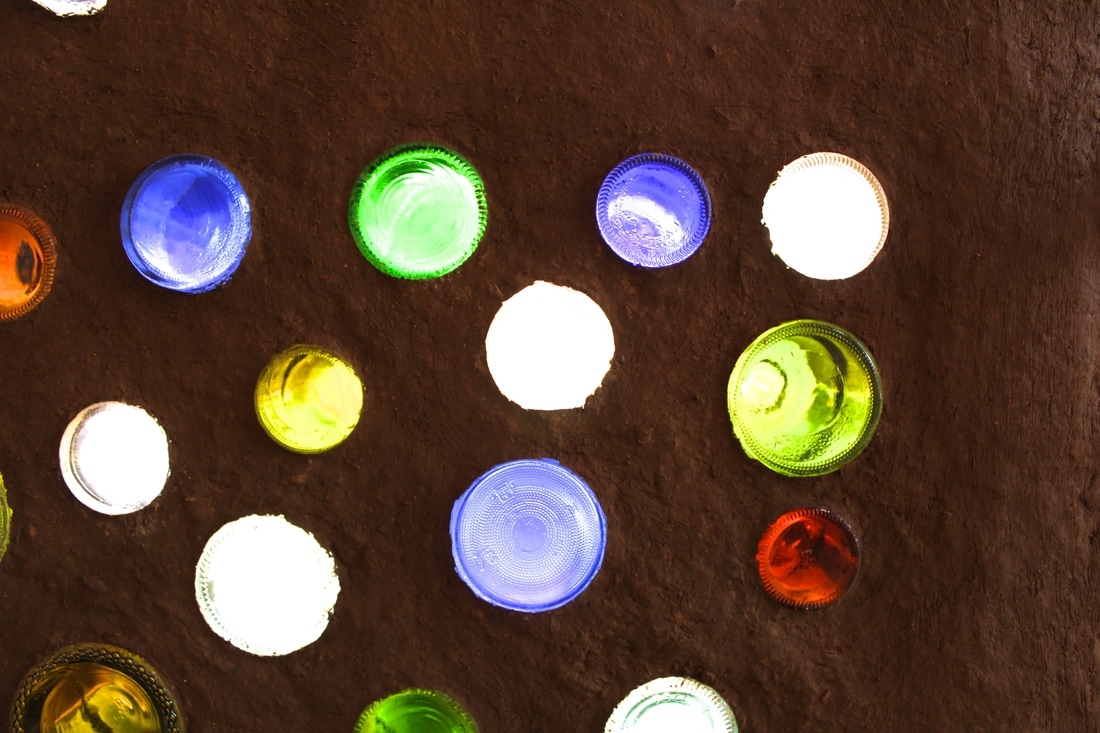 The photo below is the adjacent wall with the paneling now attached to it. The space above the doorway will be a window with the door being a glass door. 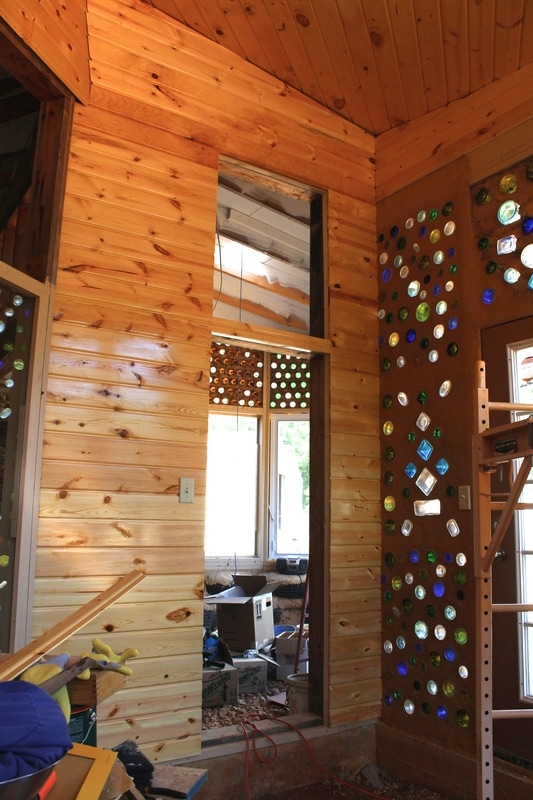 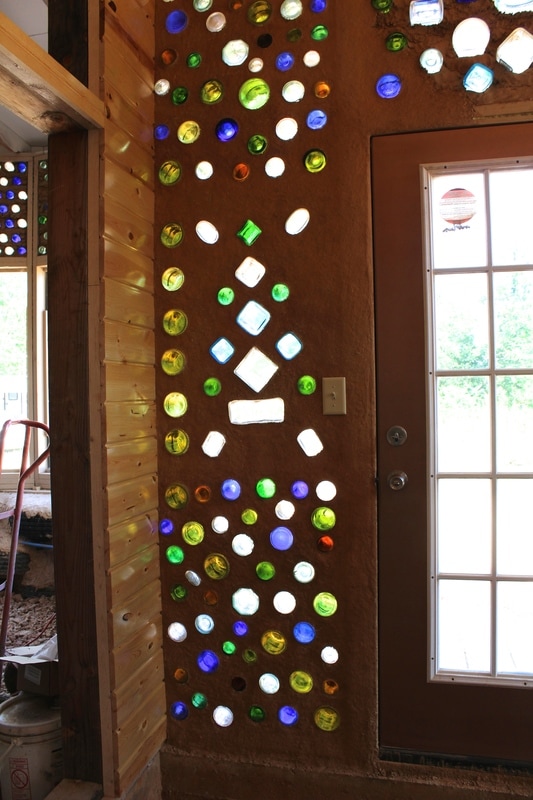 The photo above shows the papercrete finished layer all dry. It does have a texture to it, has stuck to the bottles well with no cracking, and is very hard to the touch. 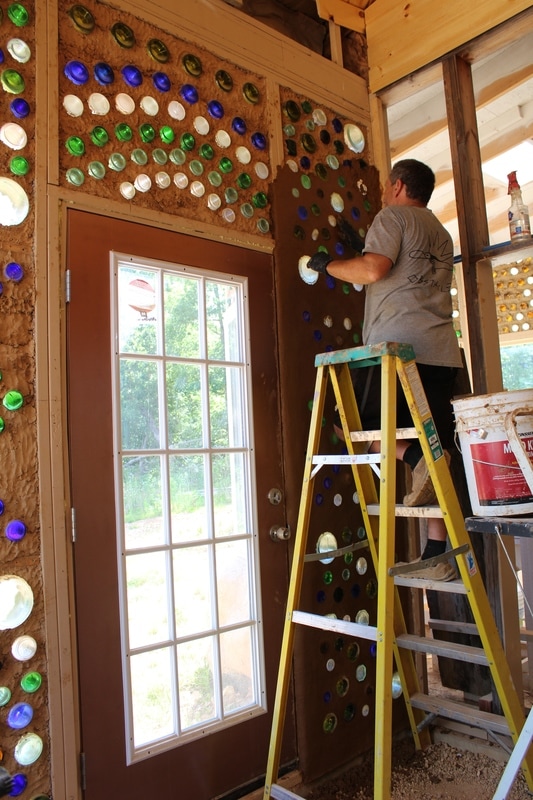 Allen adding a papercrete finish to the west sunroom wall. The papercrete is applied flush to the edge of the bottles. 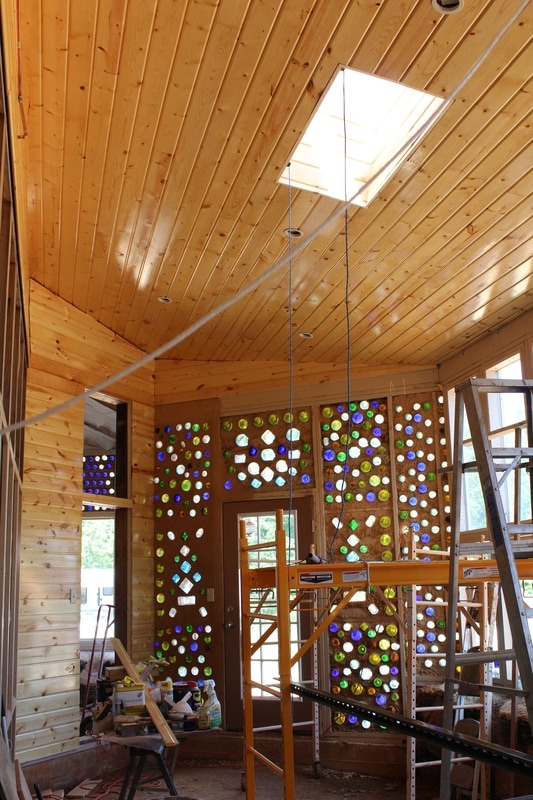 The photo above is the east end of the greenhouse. The photo below is the west end. 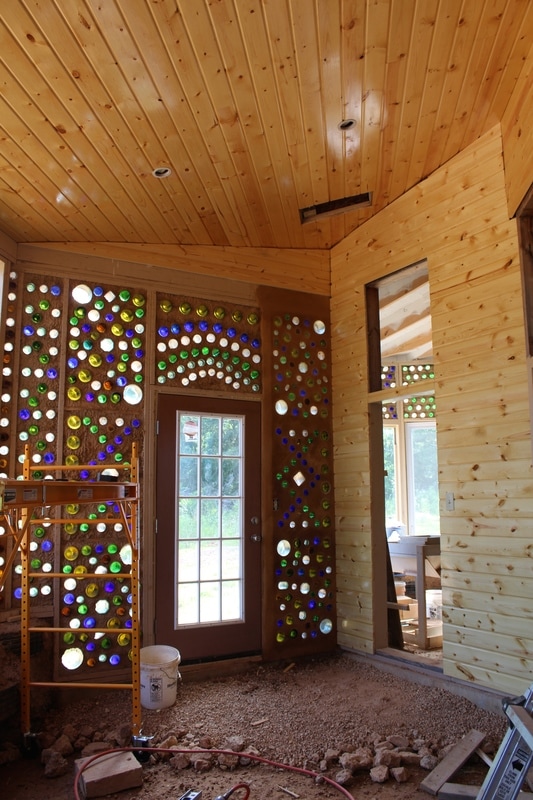 The next to be worked on is the trim in the greenhouse, finish the papercrete bottle walls, and finish building the bathroom walls.
5 Comments
|
AuthorMary Severin writes about her families embarkment on a learning adventure to build an Upcycled Home using Earthship Principals. To find out what these Principals are click on the Earthship Principals link above. 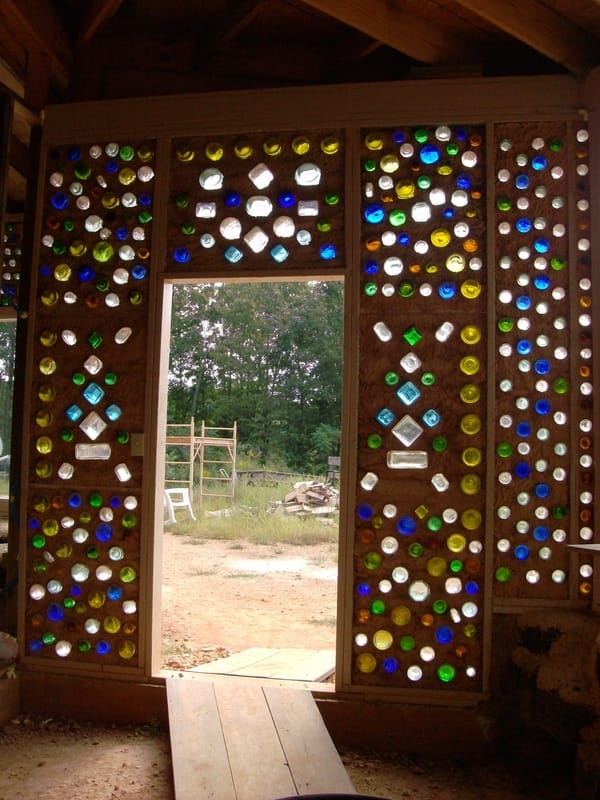

CategoriesArchives
March 2018
|
| Severins Upcycled Home |
|
