Greenhouse SkylightsThere are many times during this building process that we have had to think things through and learn how to do something. This includes in how to create and make our own sky lights. Even though Allen used the example in the Earthship books to go off of, we still had to design them and get them to work effectively. 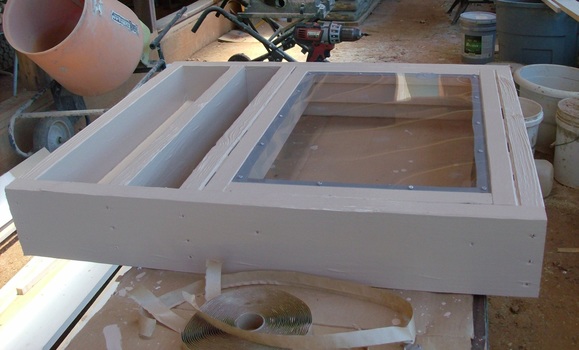 Allen used treated lumber and painted it with exterior paint. We had chosen to use plexiglass that is designed for skylights. The plexiglass is 20 times stronger than glass. Because we did not use glass the skylights are a lot lighter. Allen drilled holes through the plexiglass and sealed it with Butyl Tape. 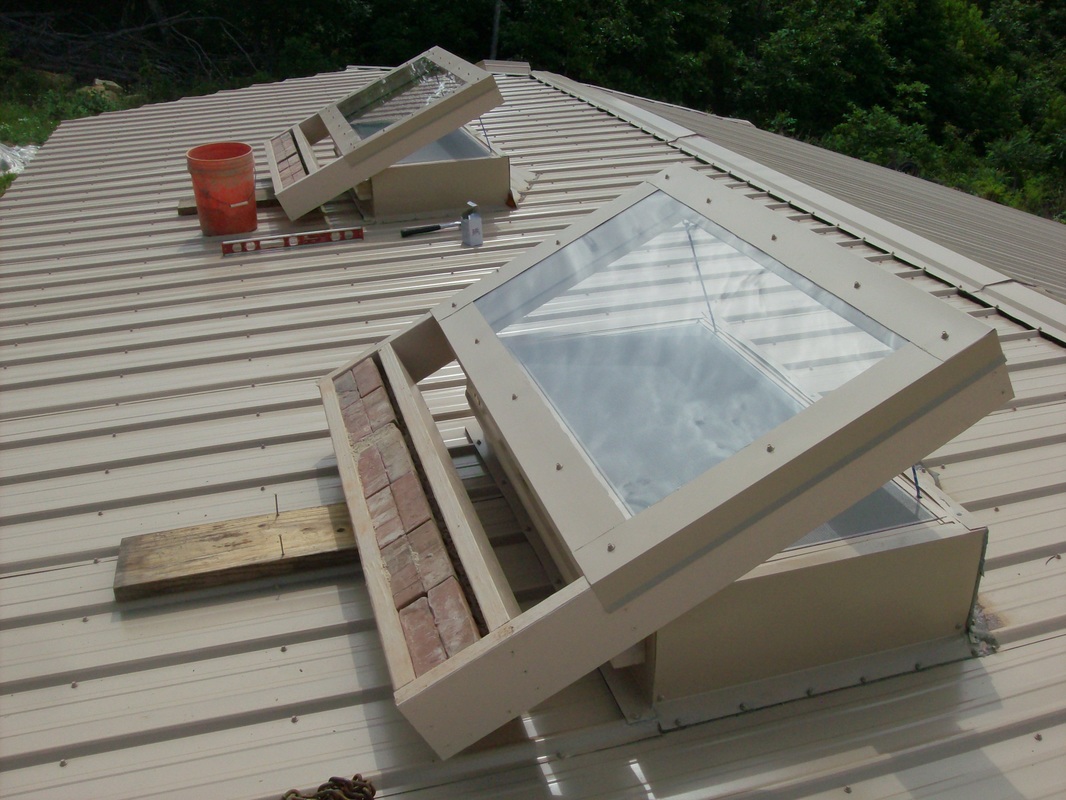 Allen covered where he screwed in the plexiglass with metal and sealed the edge of the metal and the plexiglass with silicone. We needed to add weight for the sky lights to open. We had bought some bricks at a really good price and decided to see if they would give us enough weight to make the sky lights open up. The bricks with added sand did the trick. Allen then covered the bricks with a metal cover. Making the Screen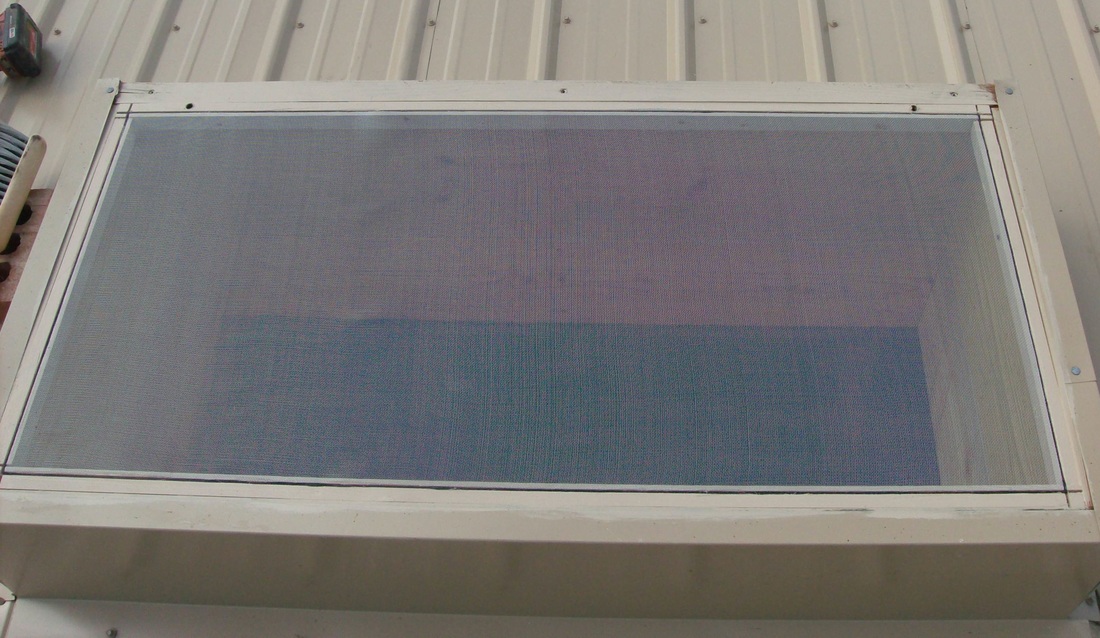 Allen and I decided to make our own frame for the screens when we found out how much they cost. At Walmart they cost just under $11.00 per frame and that did not include the screen. Using scrap wood that we had left over from another project Allen cut a grove in the wood to secure the screen into and he painted the frame. He used screws to secure it in place then proceeded to put in the screen with a screening tool to push and roll the screen cord into. Then Allen trimmed off the excess. And there you have it folks. A home made screen that cost about $1.00 for the frame and about $3.00 for the screen and cord. The skylight opens from inside using cords. In the Earthship books Michael Reynolds says to make a hole within the screen. Allen decided to make metal grommets that he put within the screen frame itself. He sanded the edges to make sure that the metal was smooth so it would not tear the cord going through them. At the top of the photo you will see a hole within the screen frame this is where the grommet is located. Above the grommet will be metal to cover that edge of the skylight box. 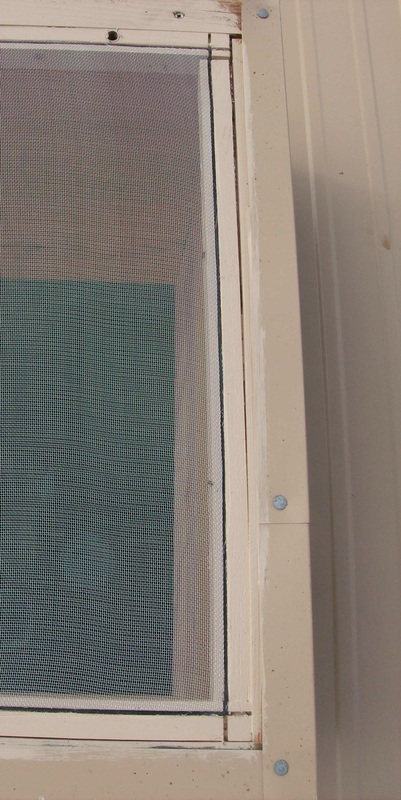 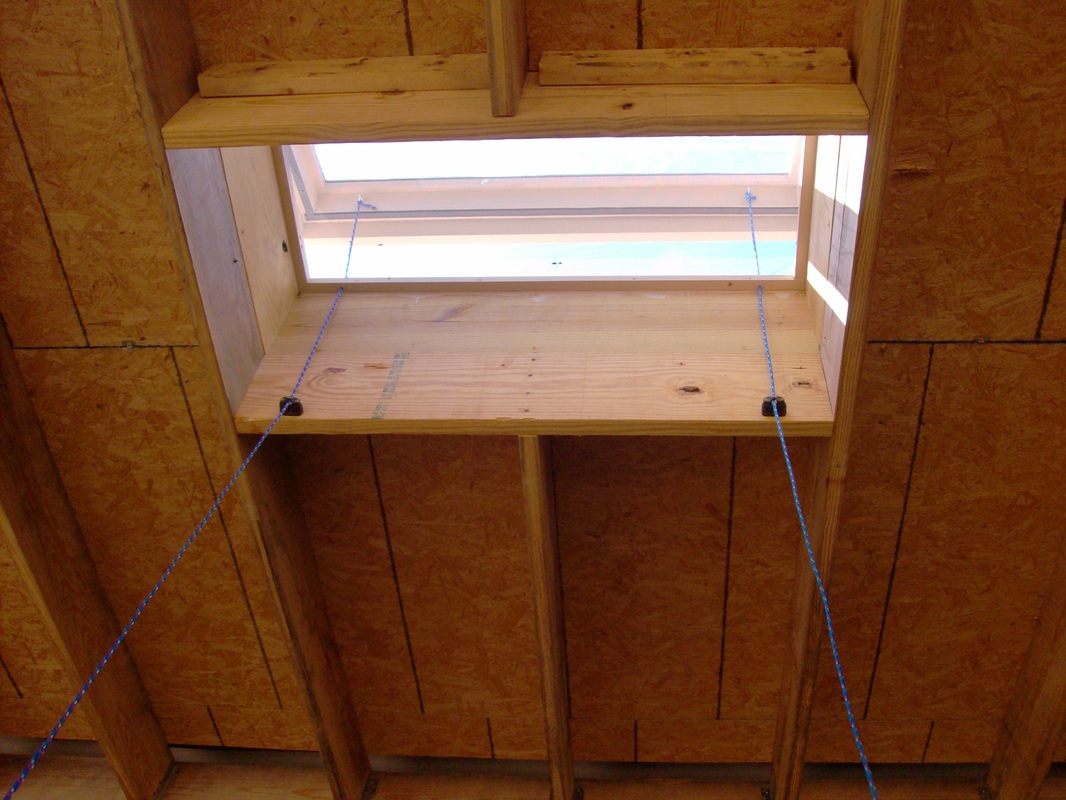 In this photo you see where we tied the cord to round fasteners on the inside of the skylight. We put the cord through the grommets and then through the cleats that will lock the cord in place when the skylight is closed. The cleats are used on sail boats to clip in cords for the sail. We learned about the use of cleats when we had rented a Earthship out in Taos, New Mexico 4 years ago. They had the cleats installed in the Earthship we had rented that was one of the new Global Models that was built. It is a new way to secure the skylights. These cleats that we bought will hold 200 pounds. 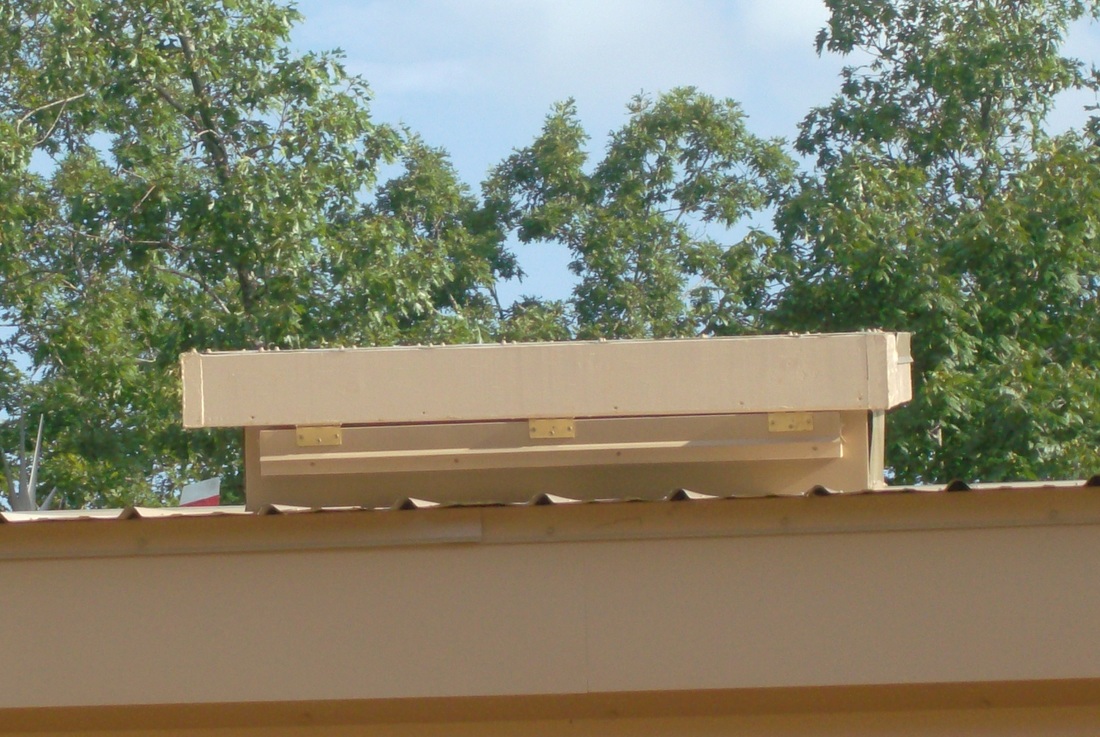 The skylight is fastened to hinges. To maximize the effect of gravity. When we pop the cords out of the cleats the weight on the skylight ( Bricks and Sand) goes down lifting the skylight up. To close and lock the skylight in place all you do is pull down on the ropes and clip them into the cleats. 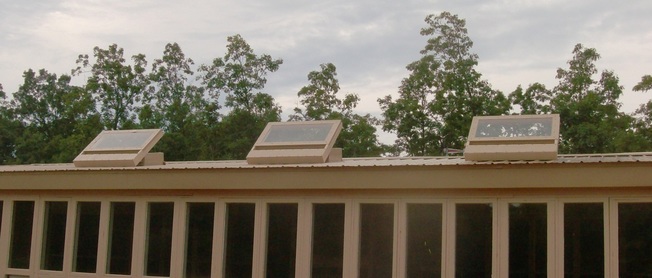 These 3 skylights each measure 24 x 48 for in the greenhouse. The box that the sky light is attached to is 9 inches tall. The height of the box and the length including the weight section of skylight will determine how big of an opening you will have with the skylight. The opening for these skylights are 11 & 1/2 inches. Sunroom Skylights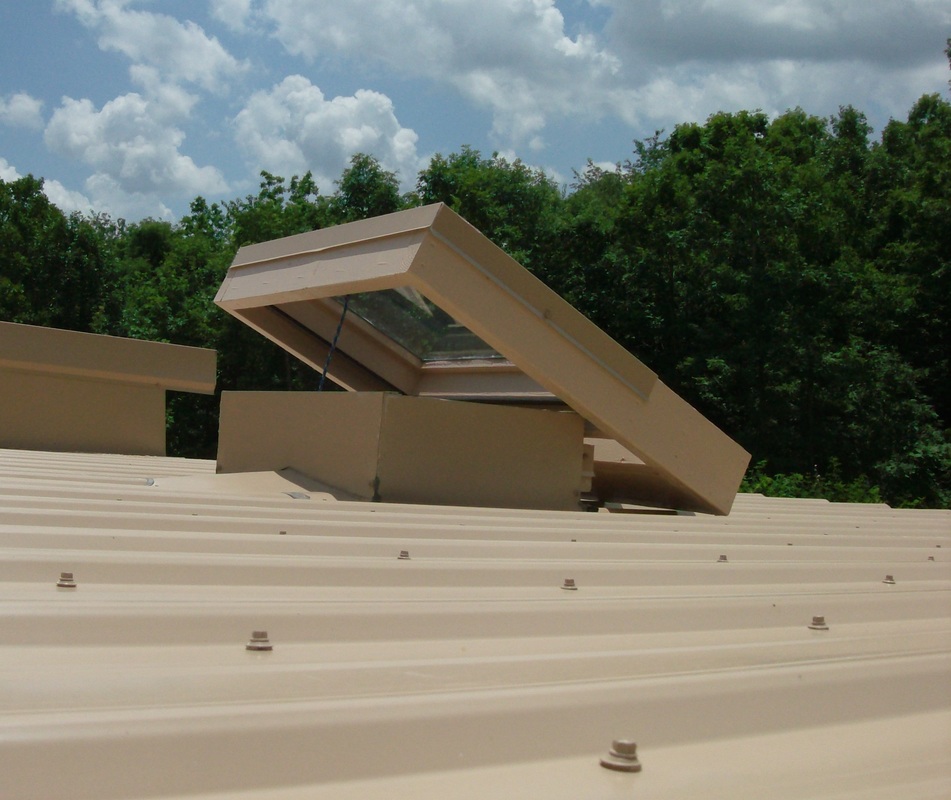 This is the smaller skylight that we had made for each sunroom. This skylight measures 15 x 24 The box secured to the roof is 8" tall. This skylight opens 7 inches. 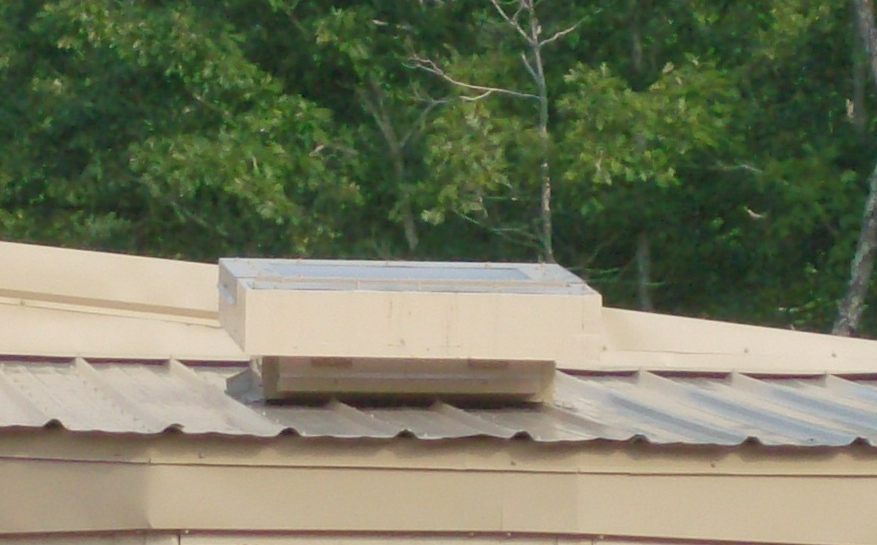 Skylight when closed. 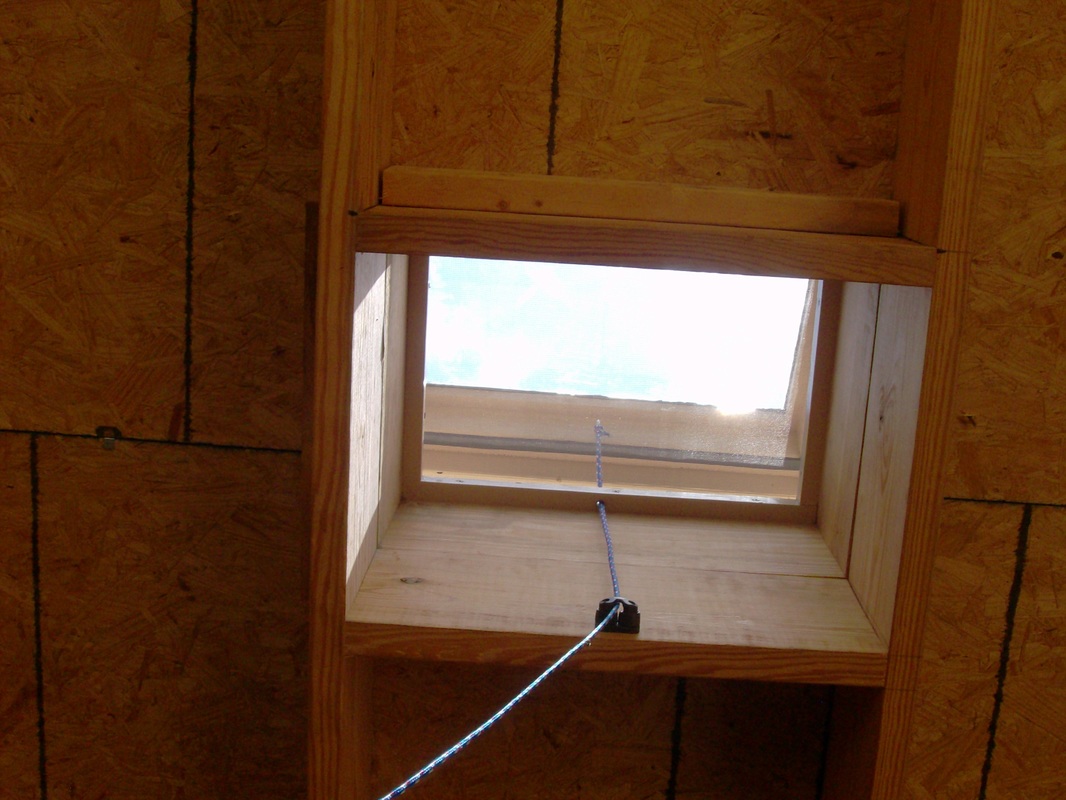 The sunroom skylight is much smaller so we estimated that only 1 cord would be needed to open and close the skylight with. 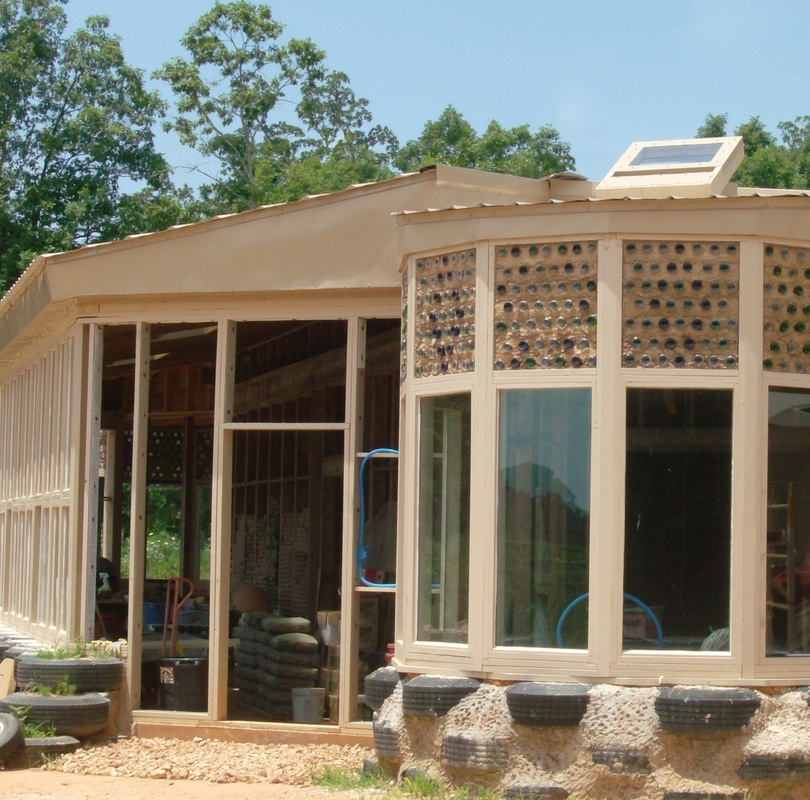 Overall the skylights work extremely well. Because we made these skylights we could match the color to the roof, making them blend with the roof. The way that they open does help to keep some rain out in the event it rains with the skylights open. They are easy to open and close. The cords that hang down in the greenhouse and sunrooms will be wrapped up to a side wall so they will not hang in walk space. Cost wise: The plexiglass and the treated lumber was the most expensive part of the skylights. We believe it cost us just over $525.00 to make all 5 skylights with the screens. 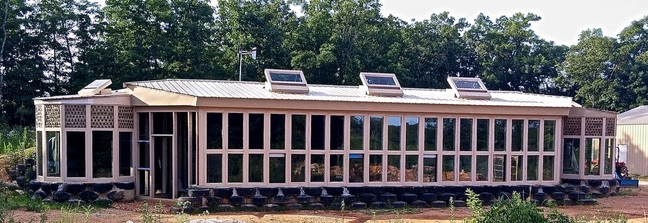
0 Comments
Leave a Reply. |
AuthorMary Severin writes about her families embarkment on a learning adventure to build an Upcycled Home using Earthship Principals. To find out what these Principals are click on the Earthship Principals link above. 

CategoriesArchives
March 2018
|
| Severins Upcycled Home |
|
